There are SO many various techniques of Fluid Art to try! Here are a few…
The Swipe Technique
Let the cells continue to develop, make additional swipes as you see fit!
Ta Da!
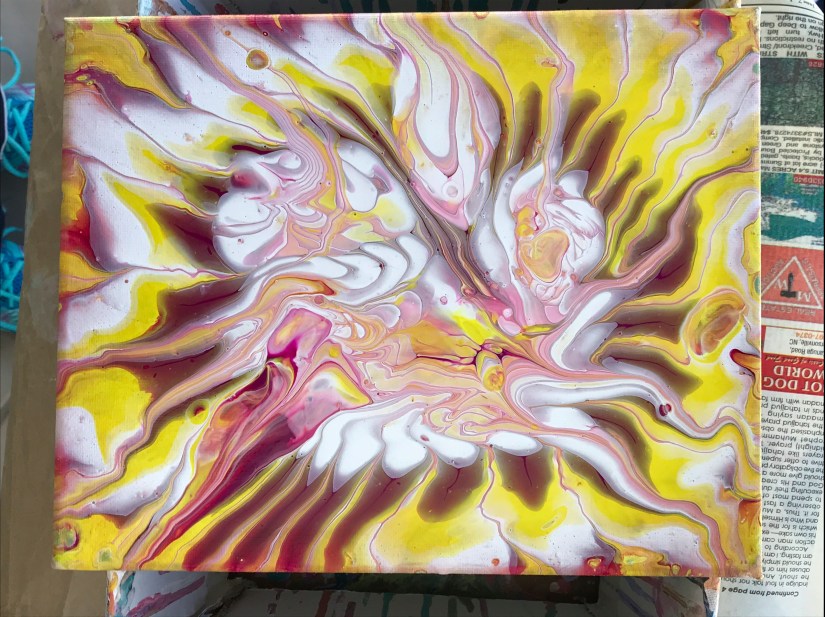
The Strainer Technique
Who knew a common kitchen sink strainer could produce such beautiful art!
Ta Da! The finished piece, “The Dragon”
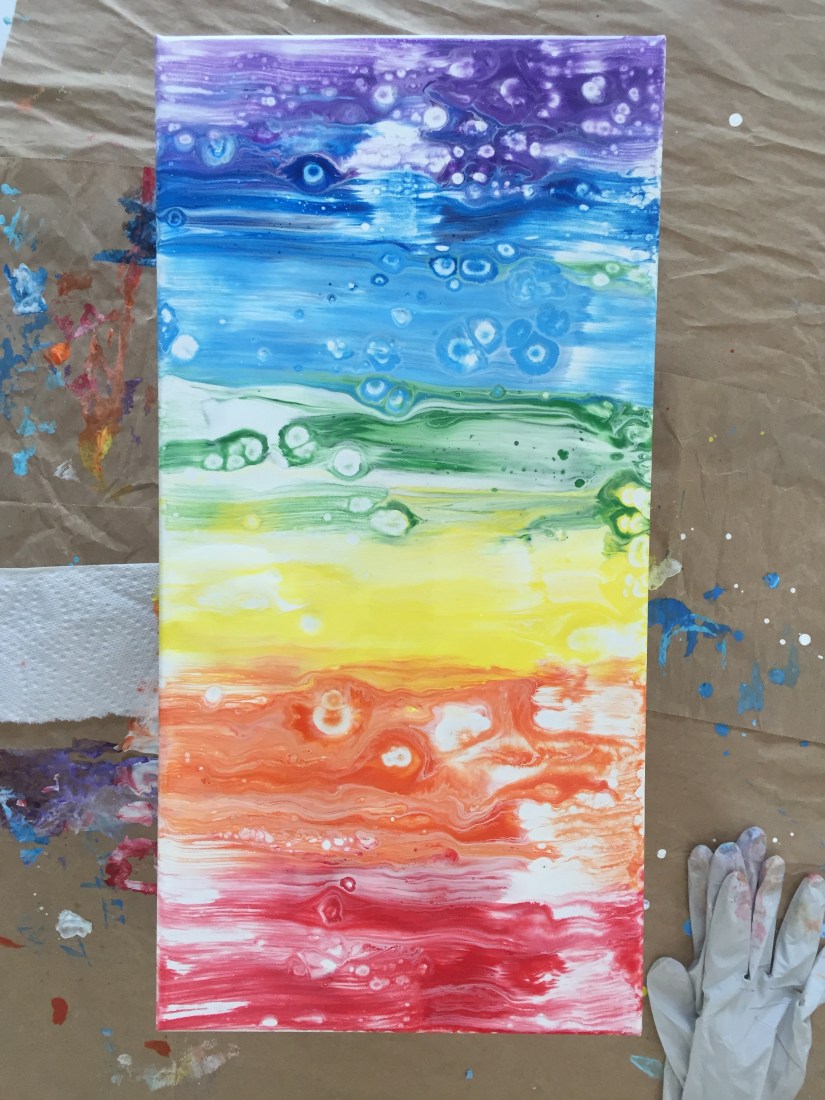
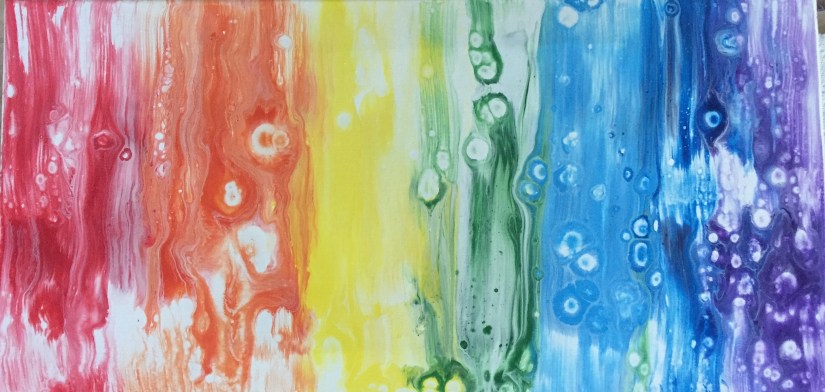
The Blizzard Technique

Use any painting

Use your prepared white flow paint with silicone and create a line across the top

Pull the paint across

Use any type of scraping object

Continue to pull the paint in up/down and side/side directions
Basic Flip Cup Technique

Use push pins at the corners to allow paint to drain off the edges without sticking to the drying surface.
")
I like to use a box to hold my canvas for initial pour.

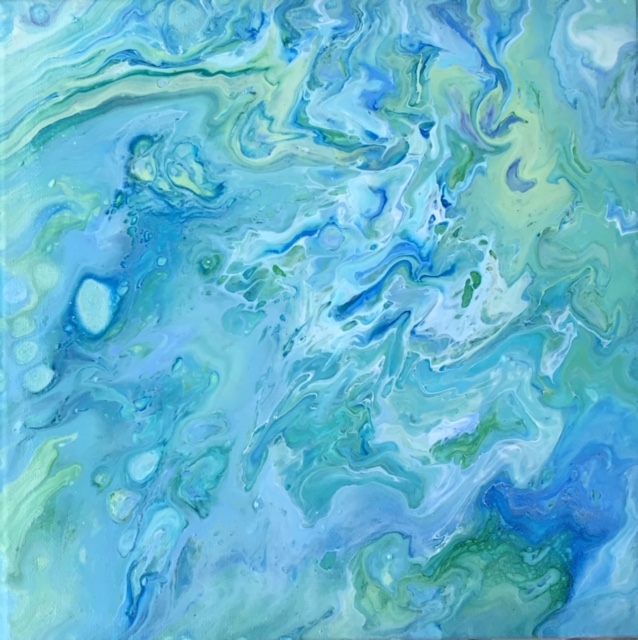
For this project, I use a 12″ x 12″ canvas that has a light coat of mint green acrylic paint.

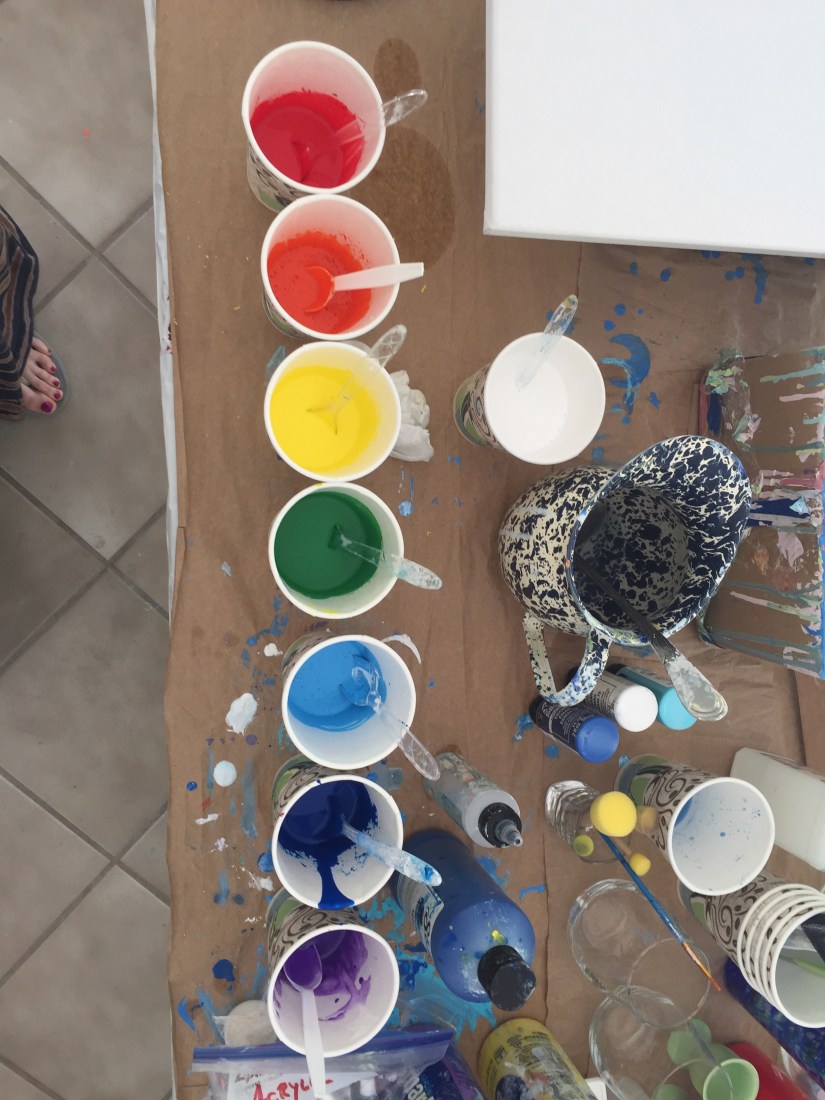
Mix acrylic paint with 20% glue or Floetral and water. The consistency should be a little thinner than cake batter.

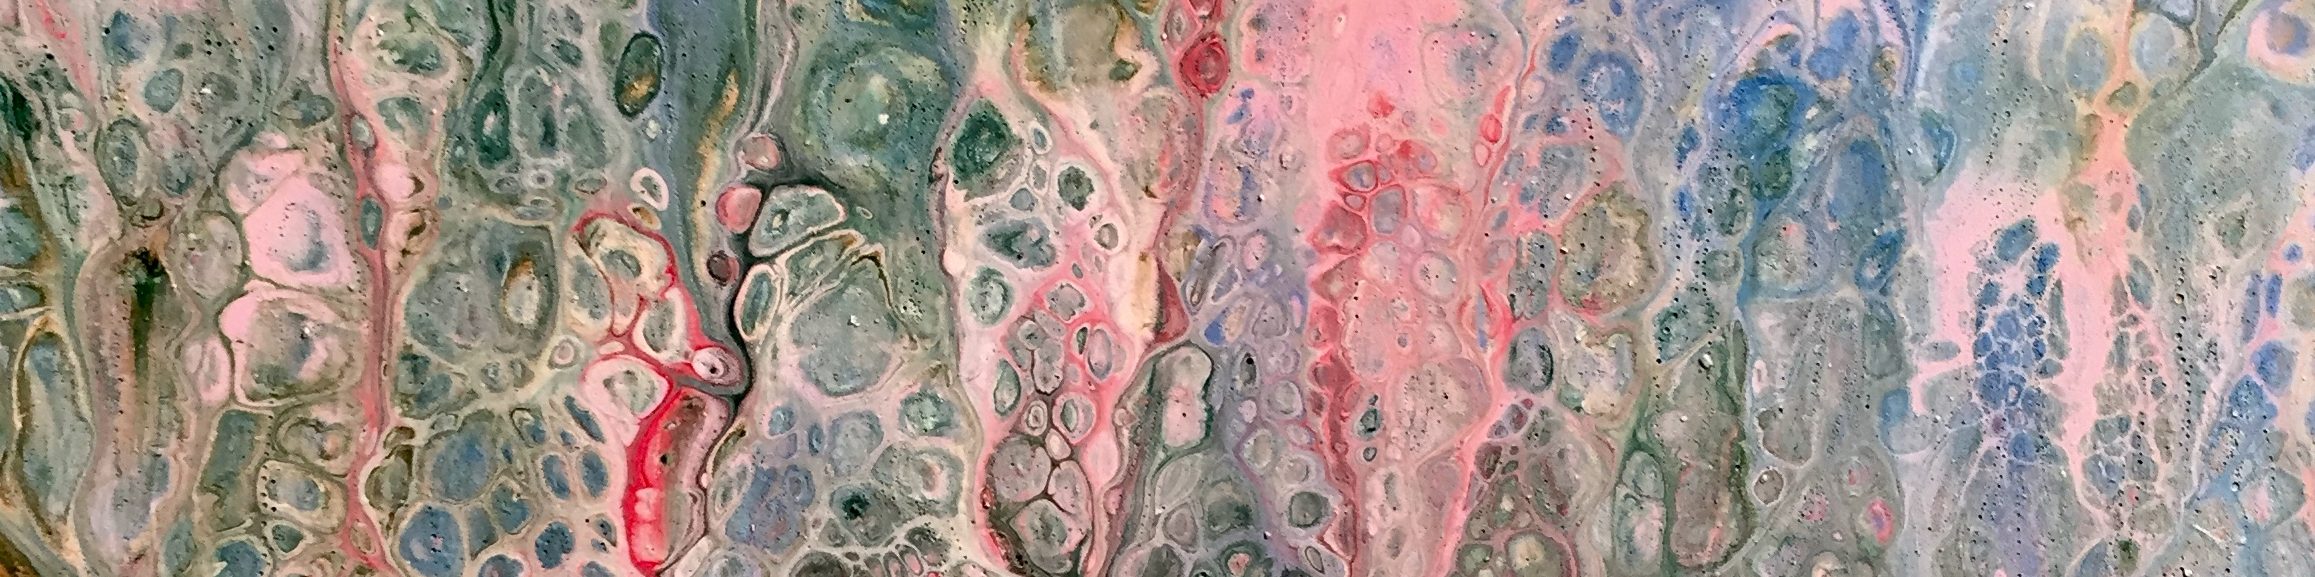
A few drops of silicone is added to two of the colors to create “cells,” the round dots of color.

Layer paints, one color at a time.
")
Layering paint…

Layering paint…
")
")
For a 12′ x 12′ canvas, I use about 10 ounces of paint.
")
Place canvas on top of cup.
")
Place canvas on top of box.
")
Flip canvas so that cup is upside down. Allow to to sit for 30 seconds, or so.
")
Lift cup to reveal your paint pour.
")
Here is the Flow Art. Tilt your canvas to spread paint, allowing paint to cover the edge.
")
Voila! Paintings take at least 24 hours to dry.

“Sea Scapes” 12″ x 12″